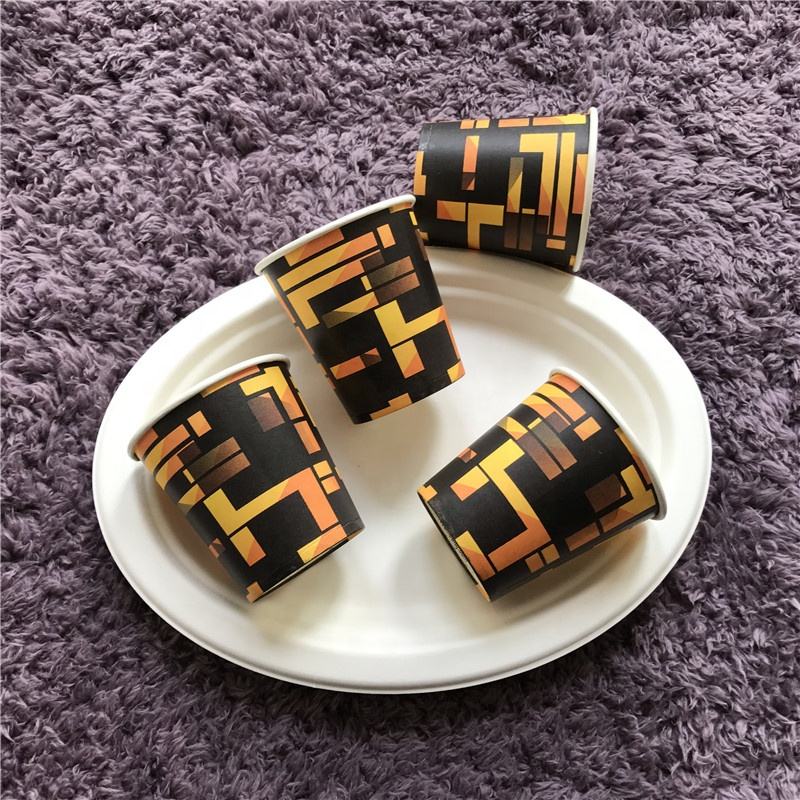
The printing process of plastic cups typically involves the following steps:
- Cup design: The first step is to create a design for the plastic cup, which includes the artwork and any text that will be printed on the cup. This can be done using graphic design software.
- Printing plate creation: Once the cup design is finalized, a printing plate is created. This is done by transferring the design onto a printing plate using specialized equipment.
- Ink selection: The ink used for printing on plastic cups must be able to adhere to the plastic surface and resist rubbing or scratching. The ink is typically chosen based on the type of plastic used for the cup.
- Printing: The printing process involves transferring the ink from the printing plate to the plastic cup. This can be done using a variety of methods, including pad printing, screen printing, or flexographic printing. The printing equipment applies the ink to the cup in the desired pattern and colors.
- Drying: After the printing is complete, the cups are typically allowed to dry for a period of time. The length of time needed for drying will depend on the type of ink used and the printing method.
- Inspection: Once the cups are dry, they are inspected to ensure that the printing is clear and consistent. Any cups that do not meet the quality standards are typically rejected.
- Packaging: The final step is to package the cups for shipment or distribution. The cups may be stacked and wrapped in plastic or placed in boxes for transport.


